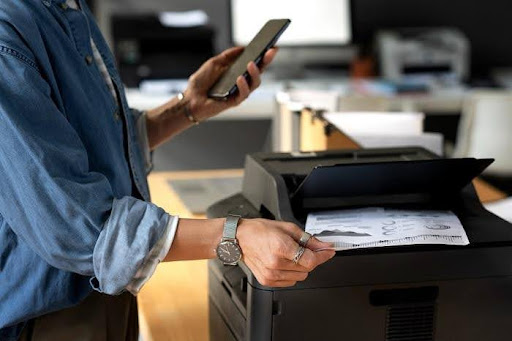
How to Add an Epson L5290 Printer to an iPhone & iPad?
Do you want to connect the Epson L2590 printer to your iPhone or iPad? If yes, then continue reading this article as it will help you with the same.
Thanks to its large capacity ink tanks, the Epson EcoTank L5290 Printer provides a productive and economical printing option.
Designed to provide crisp, high-quality outputs, it enables wireless printing, includes functions such as copying and scanning, and is built for excellent performance.Because of its EcoTank function, which drastically reduces cartridge waste, users can print more sustainably while still saving money. This little printer is suitable for use in homes and small workplaces, where it will function flawlessly.
But to get the most out of this printer, you need to clean it often and update the driver by using the Epson L5290 Driver Download procedure. It is not really essential for Apple devices since they update their operating systems and all of the drivers automatically. However, you must manually update the driver if for some reason it is not updated. Resuming our discussion of the topic, we will now discuss how to link an Epson printer to your iPhone or iPad in this post.
Different Ways to Add the Epson Printer On iPhones And iPads
Keep on reading as you will find various ways that you can use to connect any printer, beat it is Epson’s, HP’s, Dell’s, or any other company’s printer.
Method 1: Connect Your Printer Wirelessly
This method allows you to connect the printer directly to an iPod touch, iPad, or iPhone without a wireless router. For this procedure, you must have iOS 11 or newer versions installed on your device. The device camera should be working fine to scan the QR code. Moreover, your device should have Epson’s iPrint version 7.0 or newer installed. The following conditions are required to connect using this method. If your environment does not match these conditions, you can connect by selecting the ‘Other OS Devices’ option. Here are some instructions that will allow you to connect your iOS device with the Epson L5290 printer easily.
Note: You need to make these configurations just once for the printer and the smart device you want to link. No additional adjustments are required unless you remove Wi-Fi Direct or reset the network settings to their factory defaults.
- From the main screen, choose.
- Press the OK button after using the buttons to choose an item.
- Choose the Wi-Fi Direct option.
- To proceed, click OK.
- Choose iPhone.
- Use the normal Camera app on your iPhone, iPad, or iPod touch to scan the QR code displayed on the printer’s control panel in PHOTO mode.
- The Camera app is required for iOS 11 and later. For iOS versions before 10, the Camera app is unable to establish a connection to the printer. To add insult to injury, a QR code scanning app will not work for connecting. If the connection fails, go to the printer’s settings and look for an option to use other methods.
- Select the alert that appears on your iOS device’s screen.
- Press the Join button.
- Choose “Next” from the printer’s main menu.
- Gather your iOS device and launch the Epson printing app.
- Application examples for Epson printers
- Make sure the Printer is not checked on the Epson printing app screen.
- To link to a certain printer, choose it.
- Press the Finish button on the printer’s main panel.
If your smart device has already linked to the printer, you may reconnect it by selecting the network name (SSID) from its Wi-Fi settings.
Method 2: Connect Wireless Printer Using AirPrint
Over the last decade, AirPrint has become the industry standard, and most current printers have flawless wireless printing capability. Since the majority of manufacturers now offer models that enable AirPrint, finding a printer that is compatible with this functionality shouldn’t be too difficult.
Rest assured that there is extensive and easy access to printers that support AirPrint if you are looking to purchase a new printer. We have all you need to connect an AirPrint-compatible printer to your iOS smartphone. Get going by following the easy instructions shown below.
Step1: Open the file you want to share by tapping the share icon in the device’s bottom left corner.
Step2: Locate the Print option by scrolling down the Share Sheet and then tapping on it.
Step3: Choose Printer to see all of the AirPrint-compatible printers on your Wi-Fi network. You may begin printing as soon as you choose the printer you want to use.
Wrapping Up
You’ve successfully connected your iPad or iPhone to a printer and started printing wirelessly. You may now effortlessly print from anywhere at any time, saving you the trouble of copying files to your computer first. Savor the freedom and ease that wireless printing offers. Moreover, if you have any doubts or queries regarding this blog post, share them in the comments below.